1
Starting input
Text-to-image workflow
Written description with subject, style, and composition
Traditional manual workflow
Blank document, stock search, or hand-built layout
Prompt to visual
Deevid text to image helps marketers, creators, and small teams turn a written idea into a visual starting point. Describe the subject, style, lighting, and format you need, then refine the result.
Text-to-image tools are useful whenever the first visual draft matters more than starting from a blank canvas. Deevid can support both quick ideation and repeatable creative workflows.
Text-to-image workflow
Written description with subject, style, and composition
Traditional manual workflow
Blank document, stock search, or hand-built layout
Text-to-image workflow
Concepts, thumbnails, social graphics, and visual exploration
Traditional manual workflow
Highly controlled designs requiring manual construction
Text-to-image workflow
Change the prompt and compare new directions
Traditional manual workflow
Rework layers, references, and layouts by hand
Text-to-image workflow
Prompt-led choices for mood, color, framing, and detail
Traditional manual workflow
Direct control over every individual element
Text-to-image workflow
A draft, concept, or finished-looking visual asset
Traditional manual workflow
A manually assembled final composition
Text-to-image workflow
Helpful for beginners with a clear brief
Traditional manual workflow
Requires design software familiarity
Text-to-image workflow
Improves with reusable prompt patterns and references
Traditional manual workflow
Depends on templates, assets, and operator consistency
Text-to-image workflow
Fast changes to subject, tone, or aspect ratio
Traditional manual workflow
Potentially slower when many elements must be adjusted
Use a short, concrete brief before adding artistic detail. A strong first prompt names the subject, setting, visual style, lighting, camera angle, and intended use.
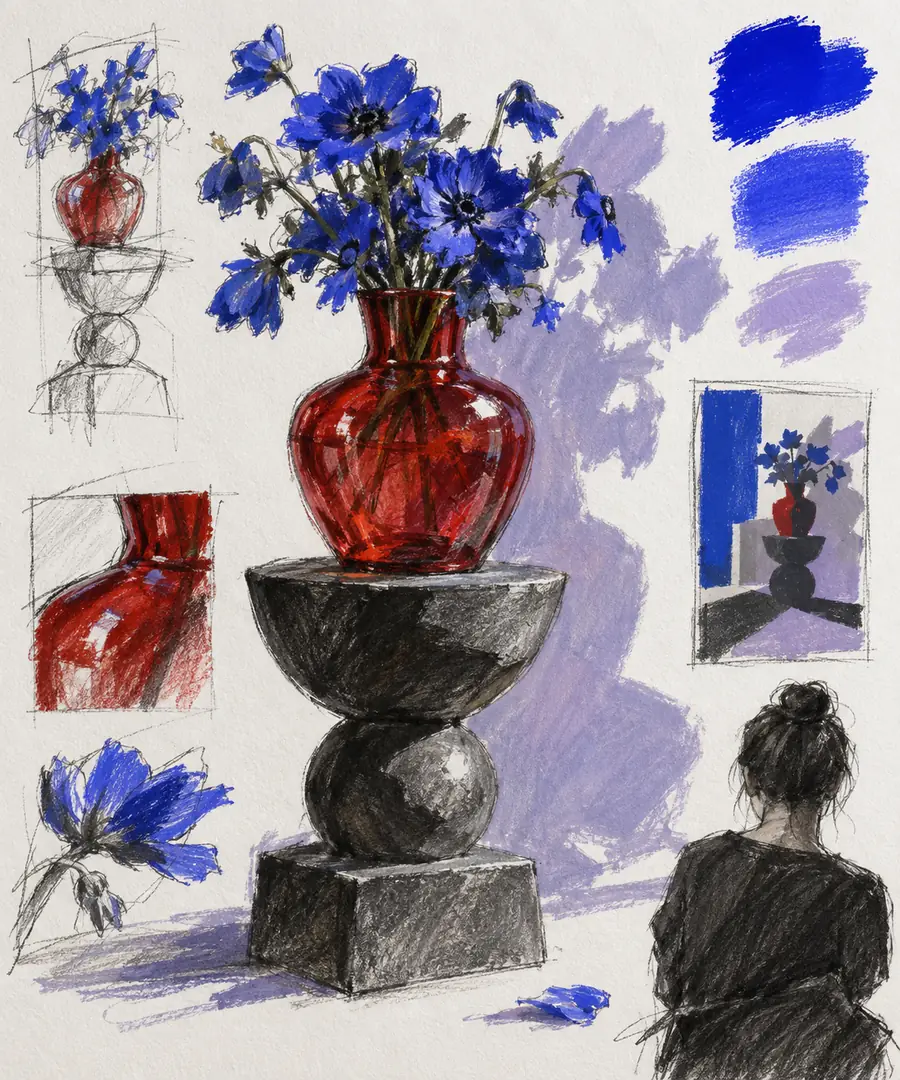
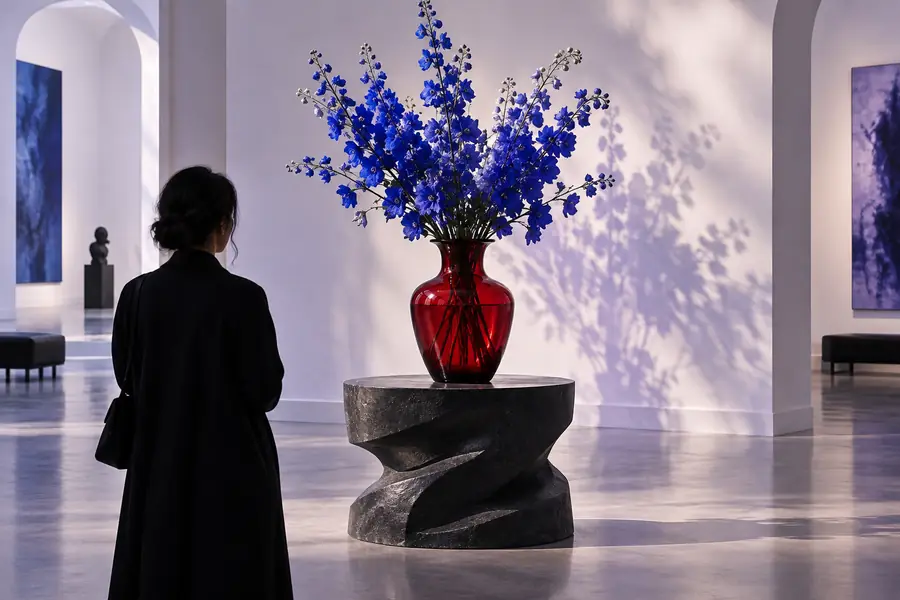
The divider shows the shift from a written brief to a visual result. Treat the first generation as a direction to evaluate, not a final answer.
Prepare the destination before generating so the visual arrives in the right shape and needs fewer edits.
Build a thumbnail concept from a subject, emotion, background, and wide composition brief.
Use the generated frame as a thumbnail direction, then connect the workflow to deevid image to video when the still needs motion.
deevid image to videoCreate several portrait or square concepts for a campaign with a consistent color and tone.
Keep the strongest visual language and adapt each image to the publishing format before scheduling.
deevid ai text to videoDescribe a product scene with surface, lighting, camera angle, and background constraints.
Generate a visual mockup for a campaign brief, landing page concept, or internal review.
deevid image to videoExplore multiple art directions before committing to a detailed composition or illustration.
Compare mood, palette, framing, and subject treatment while preserving a clear written brief.
deevid ai text to videoMost failed handoffs come from mismatched intent, unclear inputs, or a destination that expects a different asset type.
State what must appear first, including the main object, person, product, or scene. Avoid opening with vague style language.
Specify framing, viewpoint, orientation, background, and empty space. These details help the generated image fit its eventual placement.
Add a concise direction such as editorial photography, flat illustration, cinematic lighting, or clean product render.
Look for unwanted text, extra objects, distorted details, inconsistent hands, and edges that may fail when cropped.
Confirm the aspect ratio, resolution, file type, and intended use before moving the image into a video, thumbnail, or publishing workflow.
Adjust the number of visual variations to see a simple planning estimate. The figures are relative and help compare a prompt-led workflow with manual concept production.
Answers for common questions about using a prompt-led image workflow with Deevid.
Deevid text to image is used to turn written descriptions into visual concepts or image assets. Common applications include thumbnails, campaign ideas, product scenes, social graphics, and early art direction.
Describe the main subject first, then add the setting, composition, lighting, style, color, and intended format. Specific visual instructions usually produce a more useful starting point than broad requests such as “make it beautiful.”
A generated still can serve as a visual starting point for a motion workflow when the destination accepts image input. Check the required dimensions, file type, and subject clarity before handing it off.
Image models can struggle with readable typography, crowded scenes, and precise counts. Simplify the composition, describe the important elements more clearly, and plan to correct text or small details in a design editor.
Review the crop, aspect ratio, resolution, unwanted artifacts, and any details that must remain accurate. Also confirm that the image matches the intended channel, such as a thumbnail, social post, presentation, or video opening frame.