Define the intended shot
Write down the subject, setting, action, camera movement, duration, and visual mood. A specific target gives every later change something measurable to protect.
Workflow guide
When you want to know how to use deevid video without wasting generations, start by isolating the first visible problem. This guide moves from prompt and source checks to a short test render, then shows how to refine the result without changing everything at once.
Triage first
Use this order before rewriting a prompt. It removes the cheapest causes first, so you can tell whether the issue comes from the brief, the source, the motion direction, or the final polish.
Write down the subject, setting, action, camera movement, duration, and visual mood. A specific target gives every later change something measurable to protect.
Inspect the reference image, aspect ratio, crop, and subject visibility. If the starting frame is unclear or overloaded, a more elaborate prompt usually makes the output less stable.
Generate the smallest useful preview before committing to a longer sequence. Look for subject drift, unwanted cuts, frozen movement, and camera motion that does not match the brief.
Refine only the weak part of the result: action, camera, style, or timing. Comparing single-variable revisions makes the successful instruction easier to reuse.
Before you start
Have these basics ready before opening the workspace. Required items reduce avoidable retries; optional items help when you need stronger continuity or a more controlled edit.
Describe what moves, not just what should appear.
Use a clean frame when appearance or composition matters.
State portrait, landscape, or square and keep the first test short.
Examples include slow push-in, side pan, locked frame, or overhead view.
Useful for face, product shape, colors, clothing, or logo placement.
Decide where the clip will be used before polishing the framing.
Keep exploring
The best next guide depends on whether you need a general walkthrough, a beginner-friendly starting point, or a focused generation workflow.
Refine in passes
A dependable Deevid video workflow evolves in stages rather than trying to solve every detail in one prompt. Treat each pass as a record of what worked and what still needs control.
Turn the idea into a shot brief with one subject, one main action, a setting, a camera instruction, and a rough duration. This prevents the first prompt from becoming a list of competing directions.
Choose the frame that best establishes the subject and composition. Test the visual foundation before adding complex lighting, multiple characters, or several simultaneous actions.
Check whether the subject moves naturally and whether the camera follows the intended path. Fix drift or awkward timing before spending effort on style words and finishing details.
Keep the strongest version, change one instruction, and compare again. Once the motion and framing are reliable, review the crop, pacing, and visual consistency for the intended use.
Compare the passes
The difference between a vague request and a controlled revision is usually visible in the motion, not just in the subject. Use the pair as a reminder to preserve what already works.
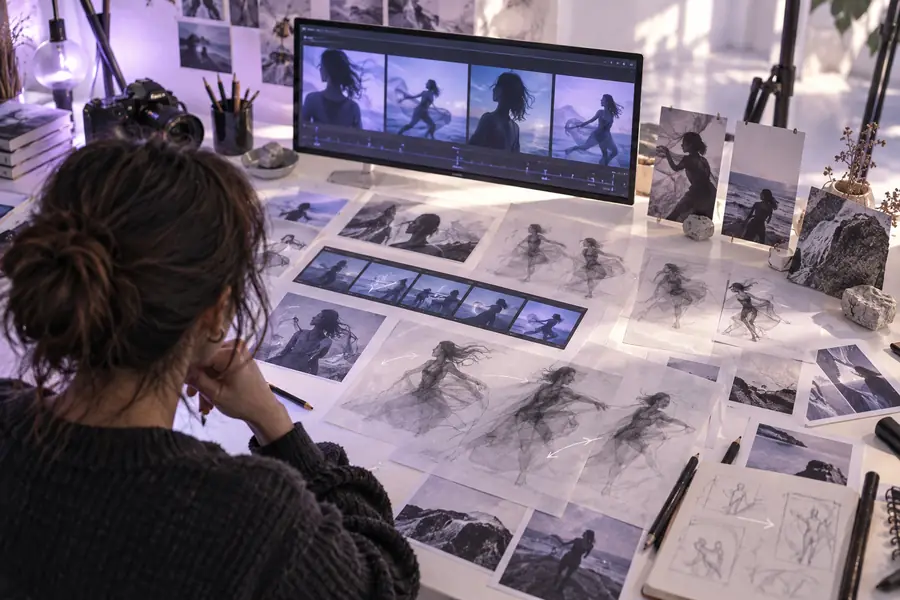
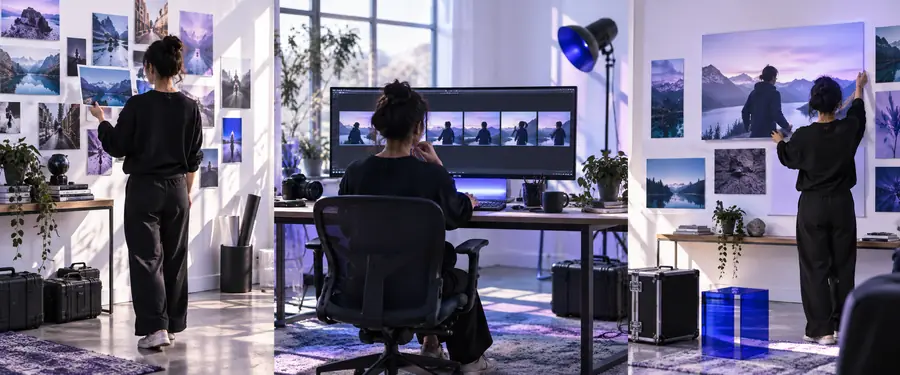
The improved pass narrows the action, names the camera move, and removes secondary instructions so the main subject remains clear.
Know the limits
A careful process improves clarity and repeatability, but it cannot guarantee a perfect result from every source or prompt. Plan for a review pass whenever continuity matters.
If the subject is cropped, hidden, or visually ambiguous, the generated motion may invent details or shift the subject.
WorkaroundUse a simpler, better-framed reference and test the composition before adding style or camera language.
Faces, products, hands, small text, and fine patterns can change during motion even when the overall scene is convincing.
WorkaroundReduce unnecessary movement, keep the subject prominent, and inspect a short preview before extending the shot.
A prompt that asks for a subject to run, transform, turn, speak, and interact with multiple objects may produce blended or incomplete actions.
WorkaroundChoose one primary action per clip, then build a sequence from separate shots when the story needs more.
A generated clip may still need trimming, cropping, ordering, sound treatment, or a decision about whether the moment supports the larger video.
WorkaroundReview the output in its intended context and keep only the parts that communicate the idea cleanly.
Common questions
These answers address the practical questions people ask when using a Deevid video workflow for the first time.
Start with one clearly defined shot rather than a complete story. Name the subject, setting, primary action, camera movement, and approximate duration, then use a short preview to identify the first issue.
Include the subject, action, environment, framing, camera direction, visual style, and timing when those details matter. Put the most important instruction first and avoid adding several unrelated actions to the same request.
Use an image when appearance, composition, or a recognizable subject needs to stay consistent. Use text when you are exploring a scene from scratch, then add a reference when the visual direction becomes more specific.
First check whether the prompt asks for too many actions or an unclear camera move. Simplify the action, specify a single direction such as a slow push-in or locked frame, and run another short test before changing the style.
The reference may be too busy, poorly framed, or inconsistent with the requested motion. Make the main subject easier to read, describe what must remain unchanged, and adjust one variable at a time so you can identify the cause.